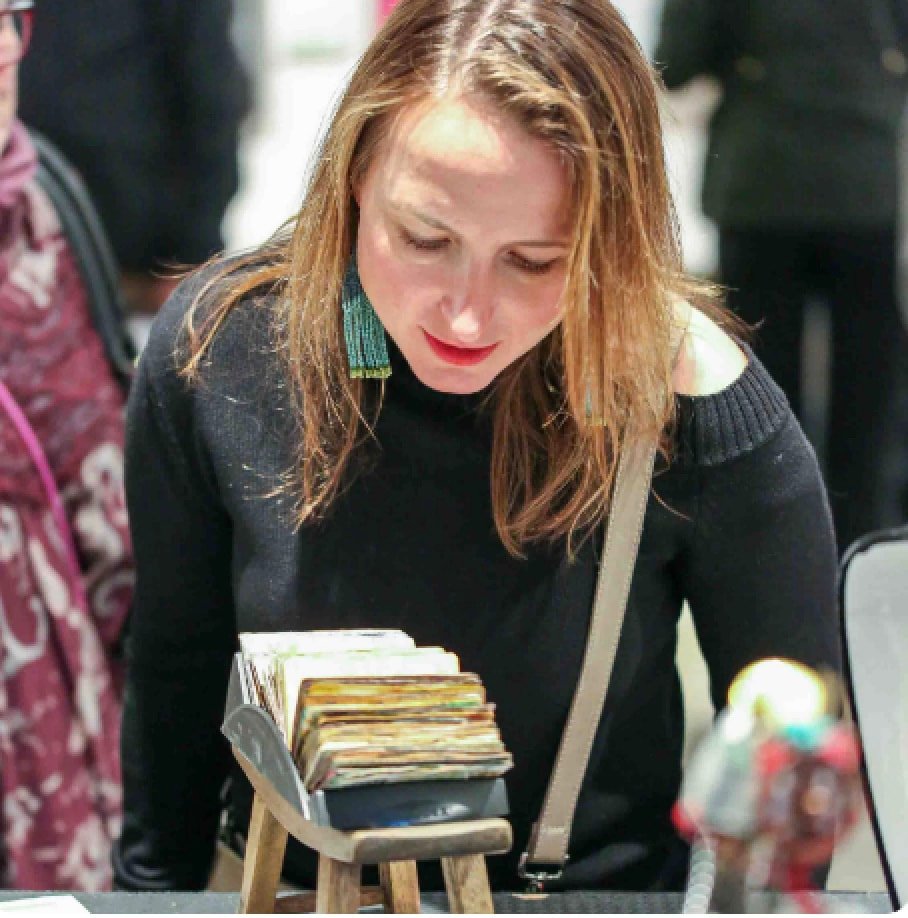
 I love this photo of someone engaged with my Rolodex Artist Book.
This "book" has 100 "pages" of art. Each page is unique and is back-to-back so 200 pieces of tiny art all together. I donated this to ARTMA — a charity devoted to curing childhood cancer. It sold for $525 and that made me happy.
0 Comments
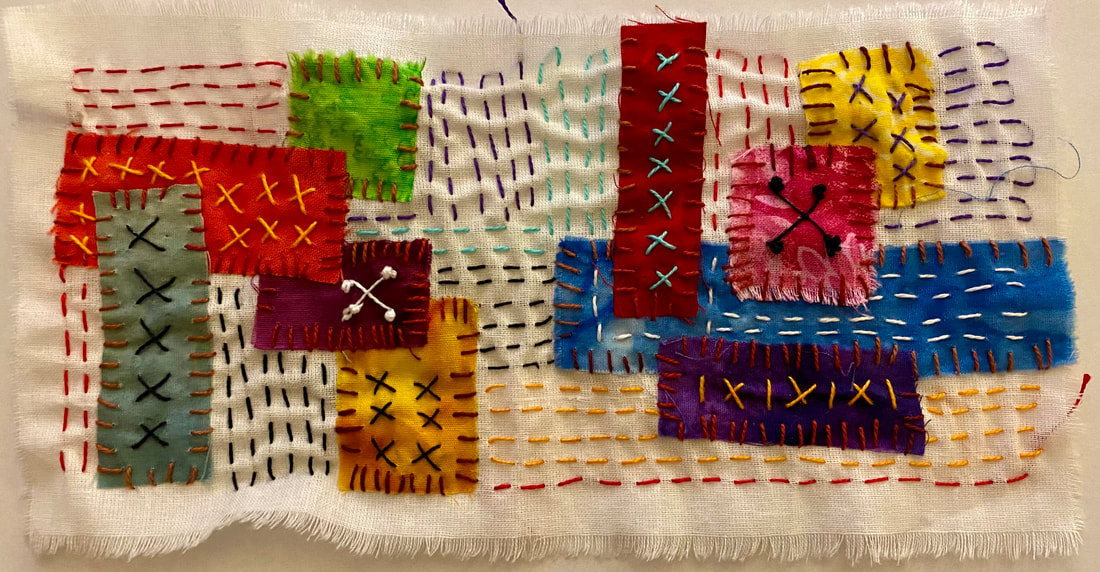
 Now that I'm back into hand stitching again, I'm working on some small pieced pieces just using simple stitching. It reminds me of the Crazy Quilting stitching of years ago. There is something that attracts me to this process, and the color, and the contrast, and the design. I don't plan anything, just react to what's I'm looking at as I make decisions on what thread to use, where and if I want to do a running stitch, French knots, or X"s. I don't know what I'm going to do with this piece (very small measuring 4" x 8") but I never worry about that. Eventually, an idea will come to me. Meanwhile, I'm just enjoying the process!
 One of the non-profits I like to support is the Rocky Mountain Quilt Museum in Golden, CO. Every year, I donate sewing supplies to their annual "garage sale" and I donate a pice of my art to their annual fund raiser luncheon "Fabric & Friends". This year they are also asking people to donate a miniature quilt.
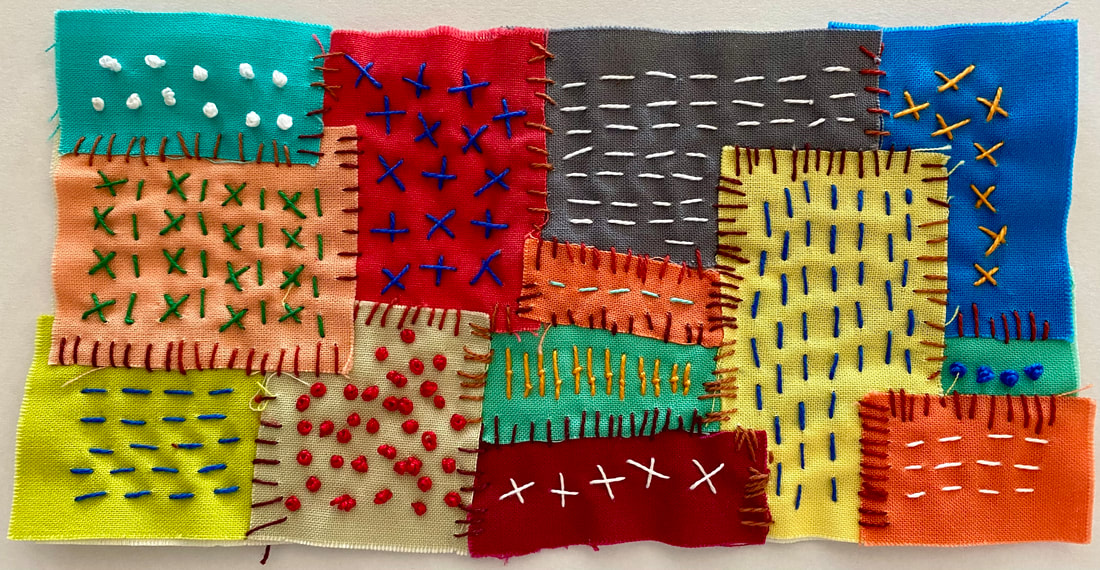
Several years ago, I started watercolor paintings on paper. I liked the exercise of mixing different hues to create unique colors. I liked how they came out so I uploaded several to Spoonflower to be printed on fabric. But I never knew how to use them until several weeks ago. I thought if I added hand stitching to each square, it might make a beautiful miniature quilt! Now that the top is finished, I love the texture and the colors. I also enjoyed the process of stitching on this piece every night. Tomorrow, I will turn this into a "quilt" by adding batting and a backing and finishing with my rattail binding technique. Then, I need to add a sleeve and label to the back and deliver it to the museum before the deadline of March 15th! 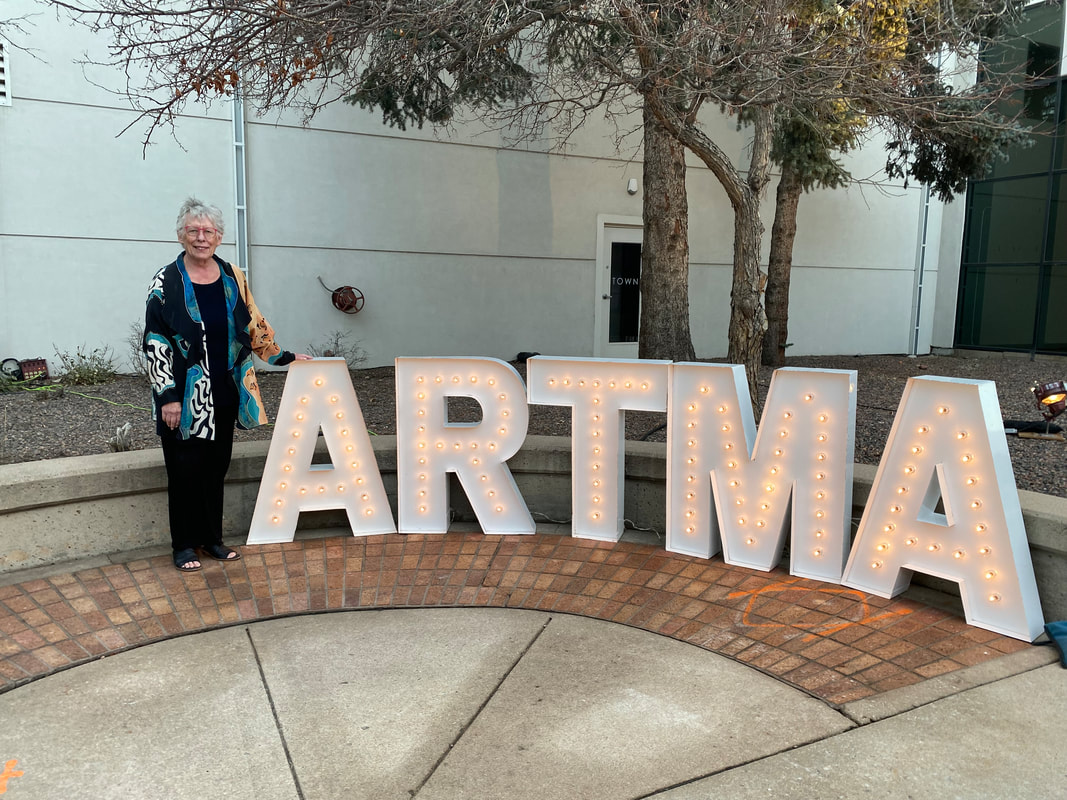 Last night, I attended the ARTMA gala with another artist friend. We have been donating our art to this fund-raising event for many years. ARTMA is a unique, funky, and fabulous biennial auction of art. The proceeds support the non-profit Morgan Adams Foundation dedicated to improving the quality of life and survival rates of children, teens, and young adults diagnosed with cancer.
ARTMA attracted more than 300 donating artists and more than 1,000 art-buying patrons. I donated one of my Rolodex Art Books to this event and was gratified seeing it had several people bidding for it. It was the first time I have exhibited my book so it will be interesting to see what it finally sold for. This organization really knowd how to treat artists. Besides providing 2 complimentary tickets to the event, they also send an email after the event to all of the artists, telling us who bought our art and how much it sold for. I was happy to see how my book was presented and seeing other artwork presented in a gallery format. All in all, it was a wonderful way to spend a Saturday night. 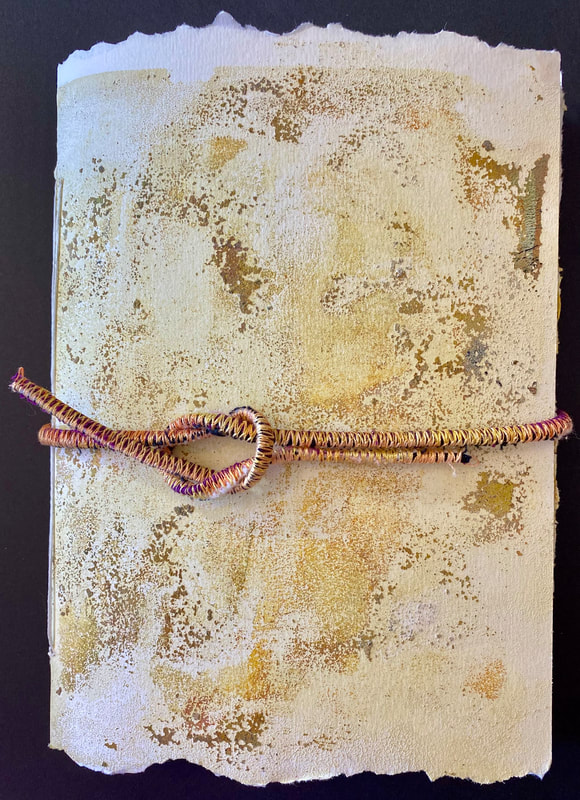 Still working on my gel plate and made this book this week. Inside are watercolor paper pages full with gel prints.
I absolutely love the texture I can get from printing with acrylics on the gel plate. I never know what the rusult will be but if I don't like it, I am also learning how to work ith the paper to get something I DO like. Such a fun way to spent my time in my studio. 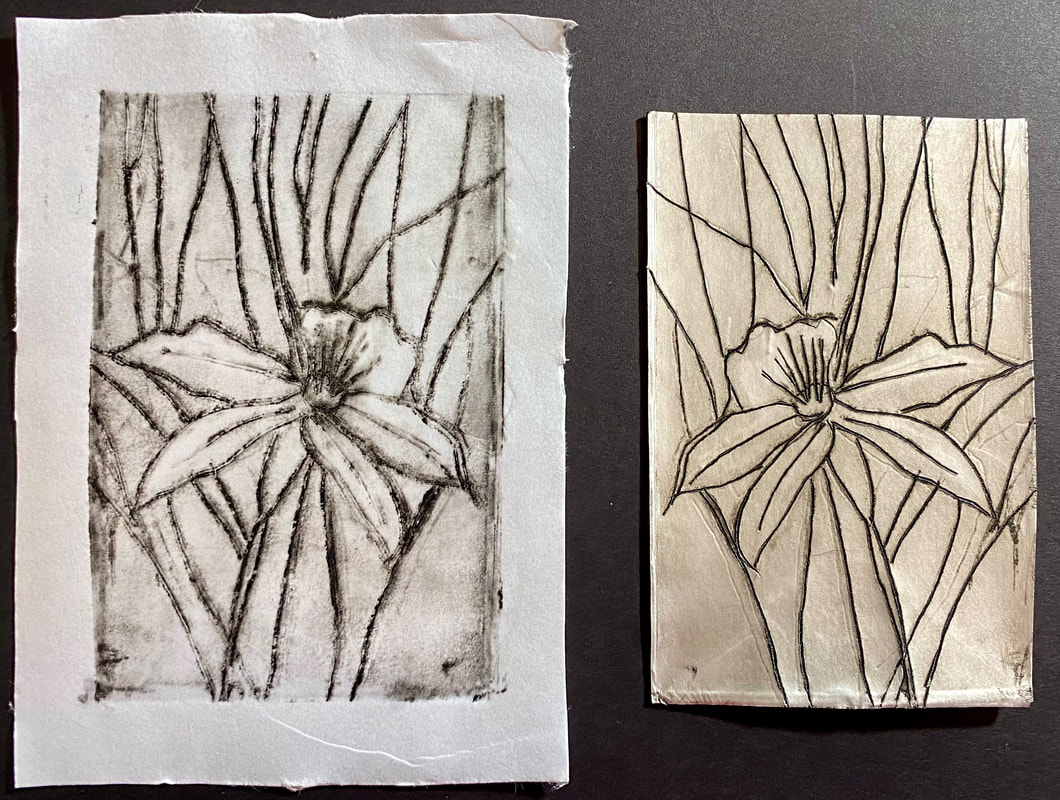 I've always wanted to make prints but didn't want to ivest in a printing press. Also, being precise is not exactly my strength.
I have tried many substrates to "etch" marks into a plate but recently, found one I really liked. — Tetra Pak. This is packaging material that is commonly found in grocery stores. I found it by looking at the bottom of the chicken broth container I had in my fridge. But I think you can also find it containing other fluids like milk, cream, etc. After rinsing out the container, I cut it into pieces (easy!) and used this as my "plate". You can draw directly on the Tetra Pak or use tracing paper to transfer a design. Then you use a sharp tool (I used an awl) to "etch" the lines onto the plate. I used Speedball paints to fill in the indentations, wiped off all the ink from the plate and then printed onto a piece of paper using a brayer. The image on the left is the print and the image on the right is the plate. I'm going to make a few of these so I can experiment with adding color to the image with watercolor or acrylic. Should keep me busy for a couple of days! 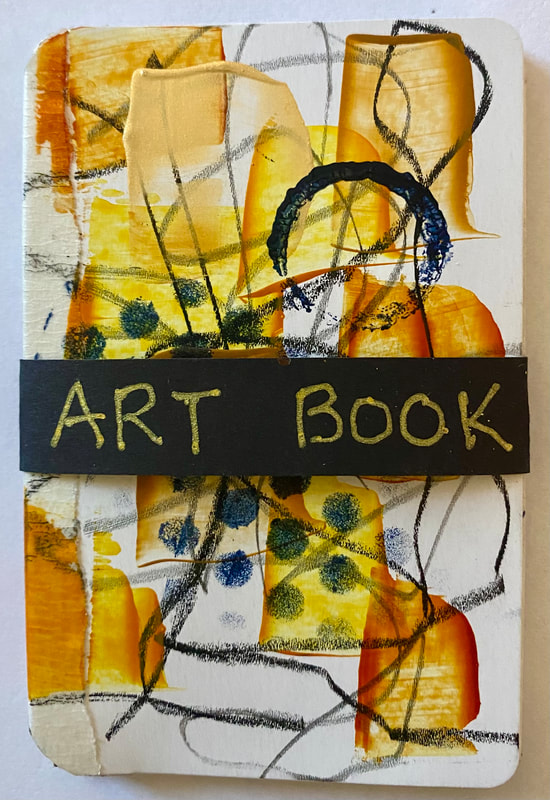 Every year, The Book Arts Group in Boulder CO hosts an Ephemera Exchange. I participated in this exchange last year and it was really fun so I did it again this year.
I bound together blank playing cards with some paper tape into an accordion book format and then went to town, painting, stamping, stenciling, and scribbling on all the pages. I then closed the book with a belly band. The group asks that you make 30 of the same thing and mail it by the end of January. In March, I will recieve a complete set from the participating artists. Can't wait to see everyone's creativity starting 2024 in a good way! 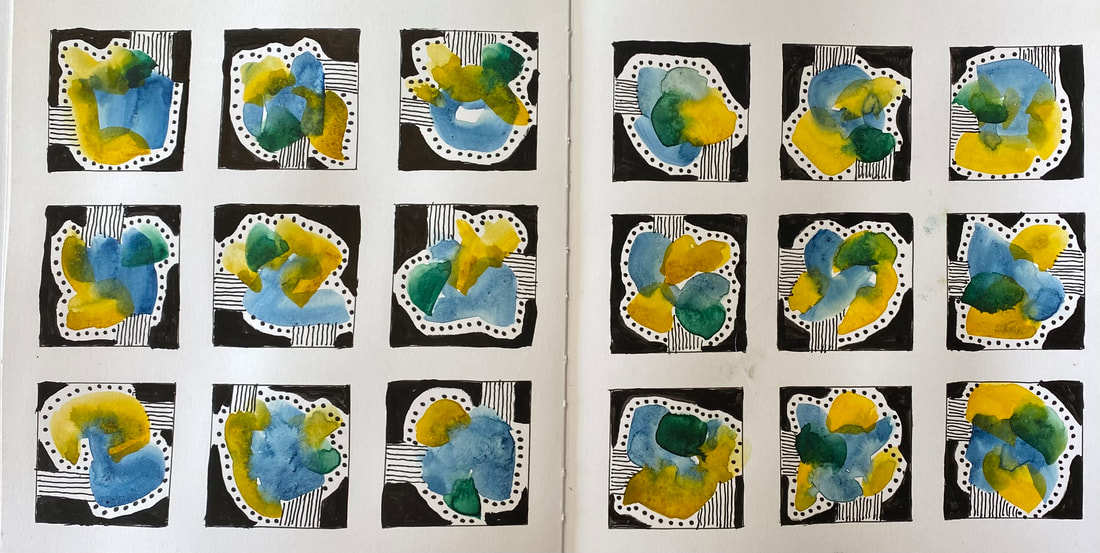 I'm still obsessed with grid paintings.
This is the first one I've made with watercolor. I'm usually making these with liquid acrylics. I like the effect of watercolor aas the colors meld into one anotheer, creating additional colors. The black is Hi-Flow acrylic from Golden. A Little goes a long way and I think it's the blackest paint I've ever used. The contrast is wonderful and it looks totally matte with no brush strokes. 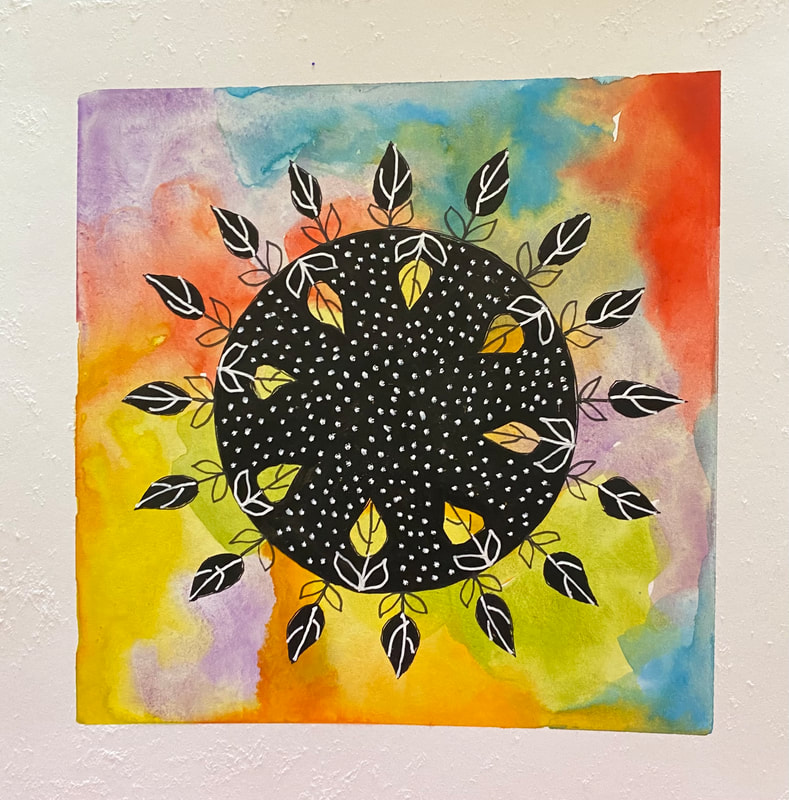 I'm dealing with a lot of stress in my life right now and trying to find 1-2 hours to spend in my studio.
But it's hard to "create" when your mind is consumed with other things. So today, I decided to work on something that I already know how to do rather than exploring new ideas, materials and methods. This kind of art-making gives me peace. Something I know knitters also like. A I finished this painting, it reminded me of Native American Art. I am not a Native American but have always admired their craftsmanship and colorful ceremonial outfits. I don't know what these leaves are pointing to — perhaps the unknown. But the colorful background hopefully points to a joyous future ahead. We'll see! |